
8 Neurosurgery Subspecialties Explained
The patient is wide awake. She’s lying on an operating table with her skull open, a surgeon’s instruments working inside her brain, and she’s doing
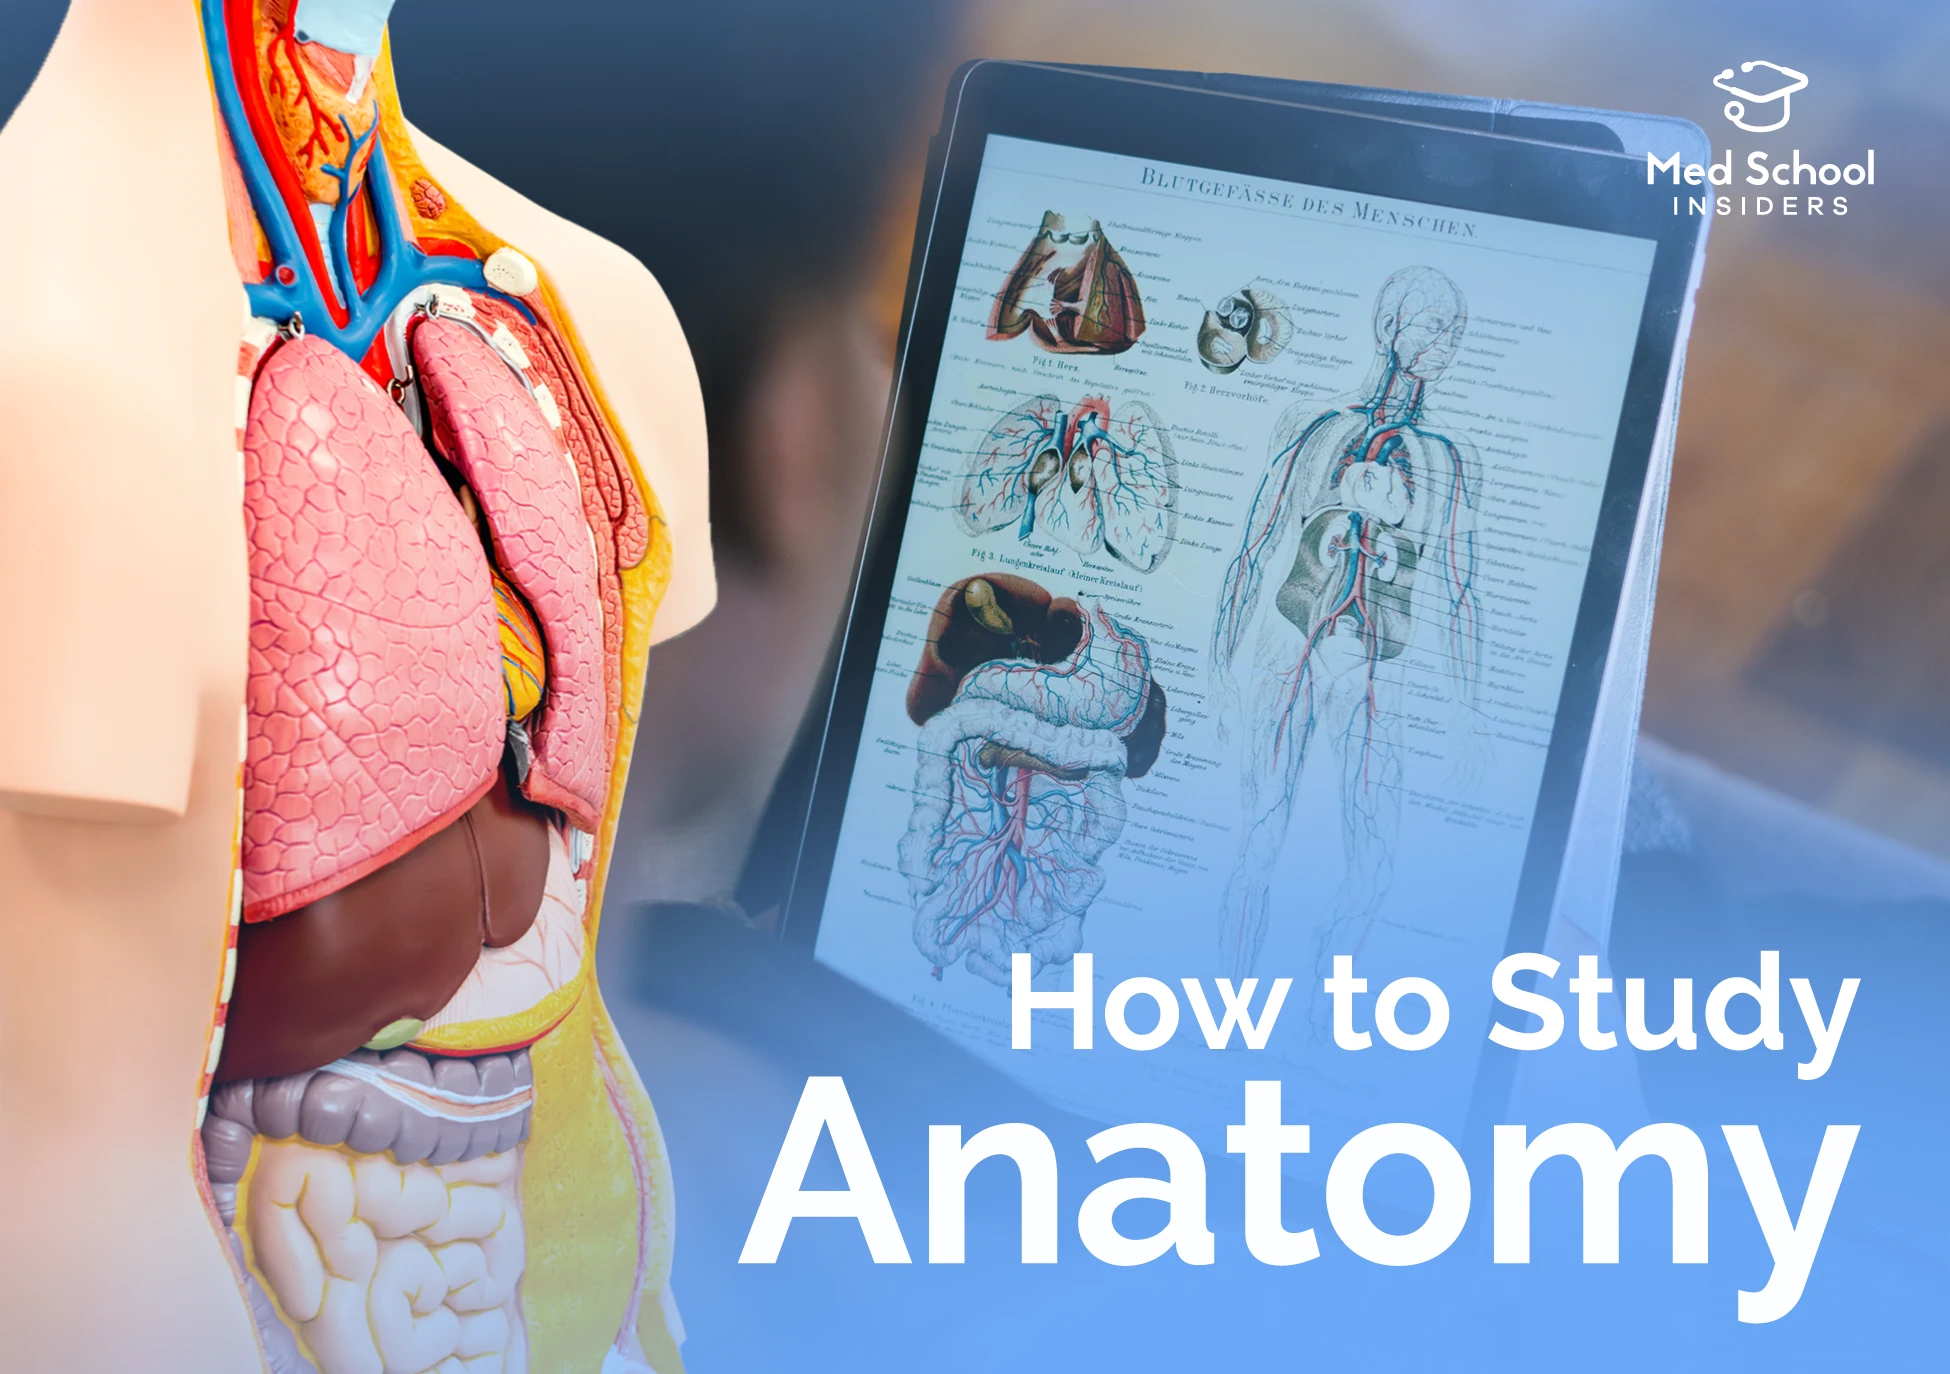
Love it or hate it, anatomy is the class that exposes how you actually learn. Most students approach it like any other memorization-heavy course. That’s the first mistake.
Let’s cover how to study anatomy in medical school, what I wish I had done differently, and the best resources.
Anatomy isn’t pure memorization, despite what most students assume going in. The real test is clinical application.
Knowing the brachial plexus means nothing if you can’t look at a patient with a specific spinal cord injury and work out which deficits they’d present with. That’s what you’re actually being examined on, and it’s what makes anatomy worth taking seriously from day one.
Anatomy is less structured and less straightforward than anything else you’ll study in med school, and that’s okay. Embrace it.
Jumping from one resource to the next before reaching completion of a chapter or section is actually good. Not following a set path will help you immerse yourself in the subject matter and retain what you’re learning.
Learning anatomy isn’t as simple as choosing a single textbook, set of flashcards, or app to guide your learning.
To truly understand anatomy, you’ll have to jump between various mediums and resources, including your traditional learning materials and the real-life thing.
Get as much exposure to cadavers as you can.
When you start cadaveric dissection, the heads will be covered for the first several weeks. You’ll begin with other parts of the body because, naturally, seeing a deceased person’s face looking back at you while you cut them open can be disorienting. After you acclimate, the head is uncovered for head and neck dissection. Some students get there faster than others.
Some people faint. Some need a mask because the smell of formaldehyde is a lot to handle. While it’s certainly challenging, remember that these individuals chose to donate their bodies to medicine for precisely this purpose.
It gets easier the more you expose yourself, and that exposure is essential to understanding the human body at a level textbooks can’t replicate.
Toward the end of class or later that day, compare multiple cadavers and take note of anatomical variations. The appendix is a good example: its position relative to the cecum varies considerably from body to body, and some cadavers won’t have one at all due to a prior appendectomy.
The best way to avoid getting tripped up by anatomical variation on an exam is to study more than your assigned cadaver. Note the differences. Note the anomalies.
The Feynman technique works by forcing you to teach a concept to someone else in the simplest terms possible. You can’t fake your way through an explanation, which means gaps in your understanding surface quickly.
Changing your role from student to teacher requires genuine comprehension. My classmates and I would take turns drawing anatomy on the whiteboard and quizzing each other. You can do this with anyone, including roommates, partners, or friends with no medical background whatsoever.
For an even more effective version, use the Feynman technique in the cadaver lab after hours. Quiz each other on structures directly rather than from a diagram.
Many students interested in surgical fields also volunteer as anatomy TAs, where they conduct prosections. These are the dissections instructors complete to demonstrate the finished work before students attempt the same dissection themselves. When I was an anatomy TA in my final year, I volunteered to perform prosections for areas relevant to my plastic surgery training. If you’re pursuing a surgical subspecialty, it’s worth doing the same.
Start with textbooks. They’re the most in-depth and accurate resources available, which makes them the gold standard, but they’re inherently two-dimensional and can be hard to visualize spatially. If you pick up spatial relationships easily, this won’t slow you down much.
The three worth knowing are Gray’s Anatomy, Moore’s Clinically Oriented Anatomy, and Netter’s Atlas of Human Anatomy. Gray’s is the most comprehensive. Moore’s ties anatomy directly to clinical application, which is what you’re ultimately being tested on. Netter’s is an atlas rather than a textbook, so it works best alongside one of the others, not as a standalone resource.
For flashcards, use Anki with the Image Occlusion Enhanced plugin. It lets you hide parts of diagrams and test yourself on the underlying structures, which is exactly what anatomy requires. My personal anatomy deck isn’t something I can share due to copyright, but mnemonics are your friend regardless. For the external carotid branches, there are plenty floating around online. “Some anatomists like frolicking, others prefer S&M,” but the more outrageous the mnemonic, the harder it is to forget.
For online resources, Acland’s Video Atlas of Human Anatomy uses real cadaveric dissections rather than illustrations, which bridges the gap between your textbooks and the lab in a way that diagrams can’t. Visible Body Suite is the other heavy hitter, with interactive 3D models that work well on mobile and are widely used across medical schools.
Anatomy apps, more broadly, are excellent, but verify what they tell you. I got pimped on whether the extensor indicis proprius was ulnar or radial to the extensor digitorum communis, remembered the answer from an app, and the app was wrong. They’re accurate the vast majority of the time, but the cadaver and your textbooks are the final word.
All that preparation means nothing if you don’t execute on test day.
Before you start a question on a practical exam, orient yourself. You typically get one minute per tagged structure. Spend the first five to ten seconds figuring out how everything is positioned. Is the body flipped over? Is the forearm pronated or supinated? Is the head pointing in a different direction than in the previous question?
Missing that you’re looking at the posterior compartment instead of the anterior compartment is the kind of mistake that costs points for no reason. Don’t let it happen.
Read each answer choice carefully. Test makers use subtle differences among options to distinguish students who truly know the material from those who only sort of know it. That gap shows up most with eponyms, the alternative names given to bones, muscles, and tendons, usually named after the researcher who first described them. Lister’s Tubercle is a good example. Most students know it as the distal dorsal tubercle of the radius. Not everyone knows both names, and test makers know that.

Test makers sometimes get tricky by using the less common name to differentiate the students who actually took the time to learn their anatomy in close detail from multiple sources.
The same principle applies to distinguishing structures visually. Arteries and nerves can look similar on a cadaver, but the question wording will tell you which one you’re dealing with. “Which muscle does this structure innervate?” points to a nerve. “Which muscle does this structure supply?” points to an artery. Pay attention to that language.
Anatomy is one piece of a much longer puzzle. If you’re still in the premed phase and want a clear picture of how everything fits together, our Premed Timeline maps out exactly what you should be doing and when.
Most medical schools cover gross anatomy in the first year, typically over one or two semesters depending on the curriculum. But “learning” anatomy in the sense of truly internalizing it is an ongoing process. You’ll revisit structures during clinical rotations, shelf exams, and Step 1 prep. The students who do best treat anatomy as a longitudinal skill rather than a block to survive and move on from.
It depends on the person and the school, but anatomy consistently ranks among the most challenging first-year courses. A peer-reviewed study published in Medical Science Educator found that neuroanatomy, head and neck anatomy, and pelvic anatomy were rated significantly more difficult than the rest of the undergraduate anatomy curriculum by second-year medical students. Biochemistry and physiology give it a run for its money, but anatomy’s combination of volume, spatial reasoning, and the demands of cadaver lab makes it uniquely difficult for many students.
There’s no magic number. The students who struggle most with anatomy are usually the ones who put in long hours through passive review, rereading notes, and highlighting. The students who do well prioritize active recall, spaced repetition through Anki, and time in the cadaver lab over raw hours logged. Focus on the quality of your study sessions rather than the clock.
The three standard references are Gray’s Anatomy, Moore’s Clinically Oriented Anatomy, and Netter’s Atlas of Human Anatomy. Most students use all three rather than picking one, and for good reason: they serve different purposes. Gray’s is where you go for depth. Moore’s connects structure to clinical presentation, which maps directly to how you’ll be examined. Netter’s is a visual atlas, so it’s less useful on its own but invaluable alongside either of the others when you need to see what you’re reading about.
Yes, but use it correctly. Anki with the Image Occlusion Enhanced plugin is particularly well-suited to anatomy because it lets you hide parts of diagrams and test yourself on the underlying structures. The mistake most students make is creating passive cards that prompt recognition rather than recall. Your cards should force you to retrieve the answer, not just confirm it.
Acland’s Video Atlas of Human Anatomy and Visible Body Suite are the two most widely used among MS1s. Acland’s uses real cadaveric dissections rather than illustrations, which makes it a strong complement to lab work. Visible Body Suite offers interactive 3D models that work well on mobile. Both are accurate and actively maintained. That said, no app should be your primary resource. Use them to reinforce what you’re learning from textbooks and the cadaver, and verify anything that doesn’t match what you’ve seen elsewhere.
Active recall beats passive review every time. Use Anki with Image Occlusion Enhanced, spend as much time as possible in the cadaver lab, and lean on mnemonics for high-volume content like nerve branches and muscle origins. The more ridiculous the mnemonic, the better it sticks. Teaching structures to a classmate, or anyone willing to listen, forces you to retrieve and organize information in a way that solo studying doesn’t. The Feynman technique isn’t just a study hack; in anatomy, it’s one of the most efficient ways to identify what you actually know versus what you think you know.

The patient is wide awake. She’s lying on an operating table with her skull open, a surgeon’s instruments working inside her brain, and she’s doing

How to prioritize medical school secondary applications with 6 strategies for deciding which secondaries to complete first and when.


This Post Has One Comment
wow. that’s very useful guide for those who are entering the medical school for the first time. Hopefully, with this, we can get to know more about what medical school is really like. Because everyone has the right to study in the field of science according to their interests and enjoy it. sorry if there are any shortcomings in my words. thanks